Quick Start
Get your Tenanta platform up and running in under 10 minutes.
Step 01 — Create a Subscription Plan
Before any customer can register, you need at least one active plan.
Navigate to Admin → Billing → Plans and click Create Plan.
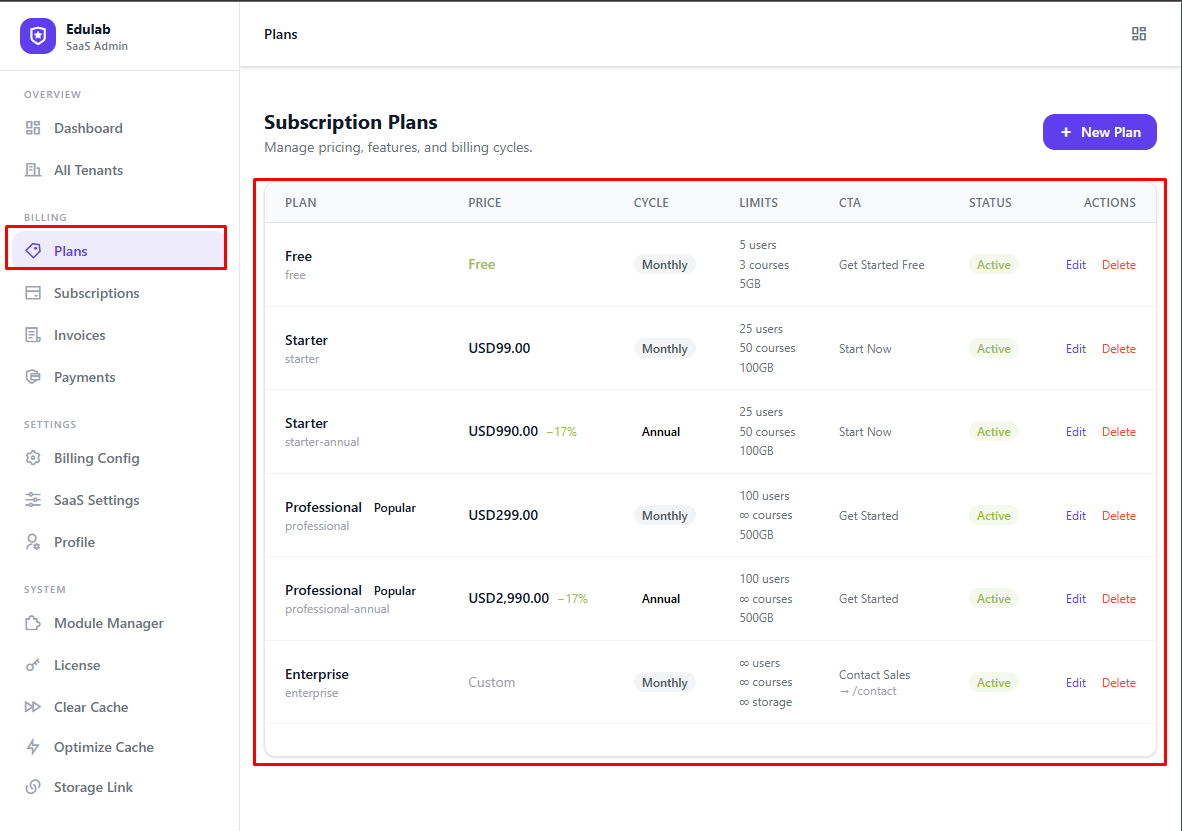
Fill in the key fields:
| Field | Example | Notes |
|---|---|---|
| Name | Starter | Shown on the pricing page |
| Slug | starter | URL-safe identifier — used in registration links |
| Price | 29 | Monthly price |
| Billing Cycle | monthly | monthly or annual |
| CTA Label | Contact Sales | Optional. Use for custom/enterprise plans |
| CTA URL | /contact | Optional. Supports /path or full https://... |
| Max Users | 25 | Leave blank for unlimited |
| Max Courses | 50 | Leave blank for unlimited |
| Max Storage (GB) | 10 | Leave blank for unlimited |
| Is Active | ✓ | Must be active to appear on pricing page |
Click Save. Repeat for each tier (e.g. Free, Starter, Pro, Enterprise).
Tip: To add a free plan, set the price to
0. Free plans activate immediately — no payment needed.Enterprise Tip: For contact-sales plans, use
price = 0and set a CTA (Contact Sales+/contact). This makes it clear pricing is custom.
Step 02 — Configure Billing Settings
Navigate to Admin → Billing → Settings.
Key settings to confirm:
- Trial Days — how many free trial days new customers get (default: 14)
- Trial Enabled — allow/deny selecting trial during registration
- Trial With Card Required — if enabled, card verification happens before provisioning
- Currency — your billing currency (e.g. USD, EUR, GBP)
- Auto-Renewal — whether subscriptions auto-renew each period
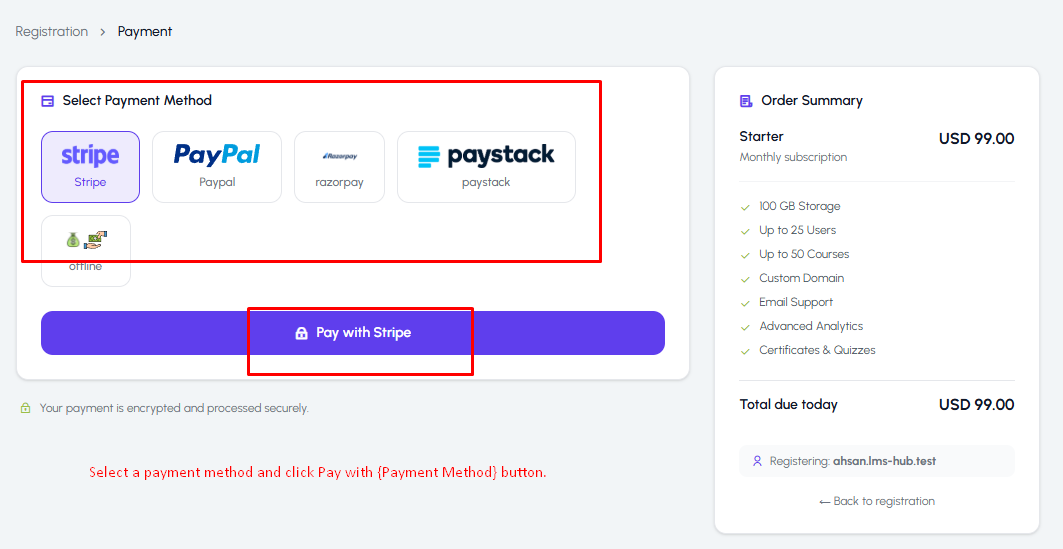
- Payment Gateways — enable at least one gateway (Stripe recommended)
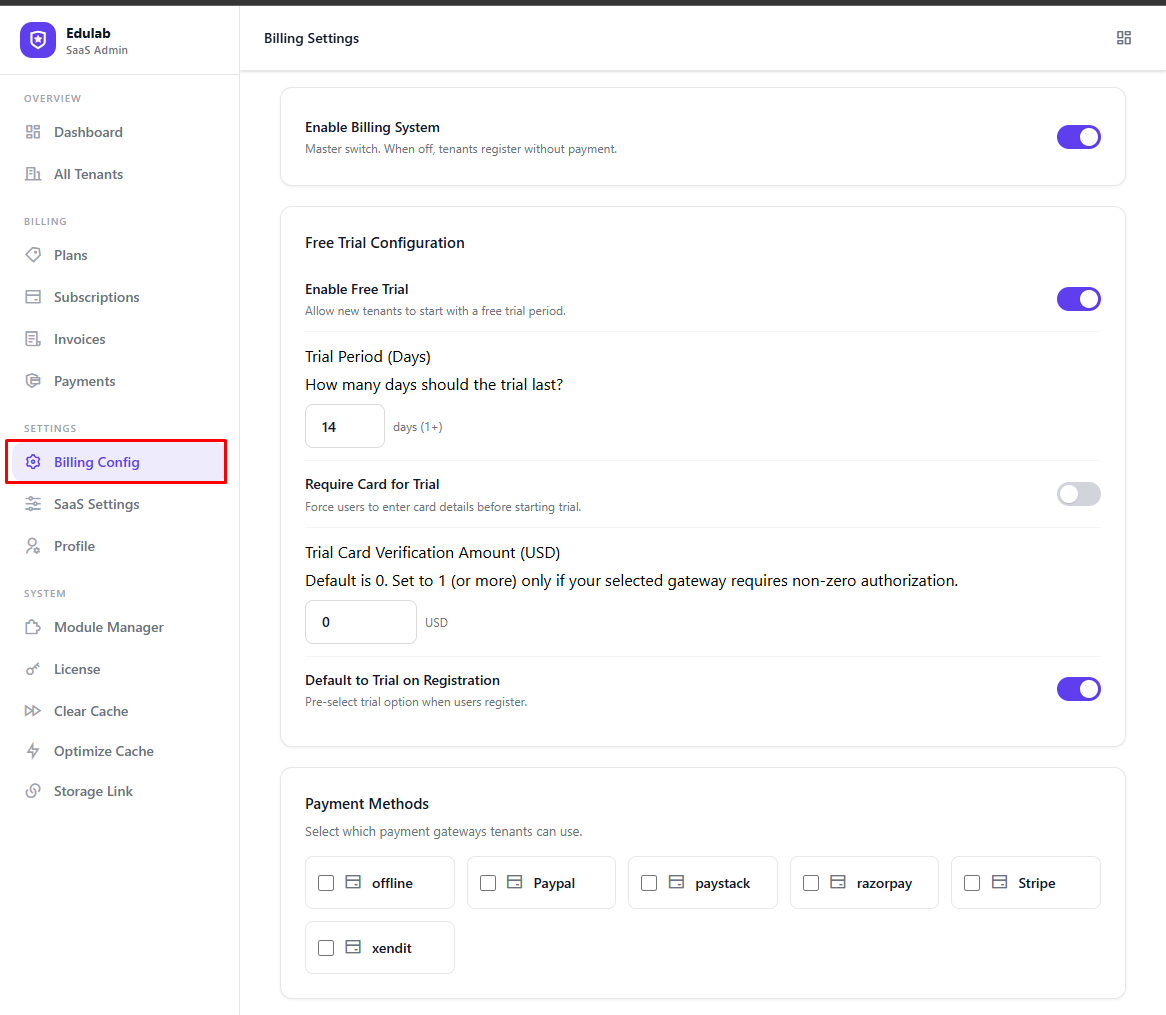
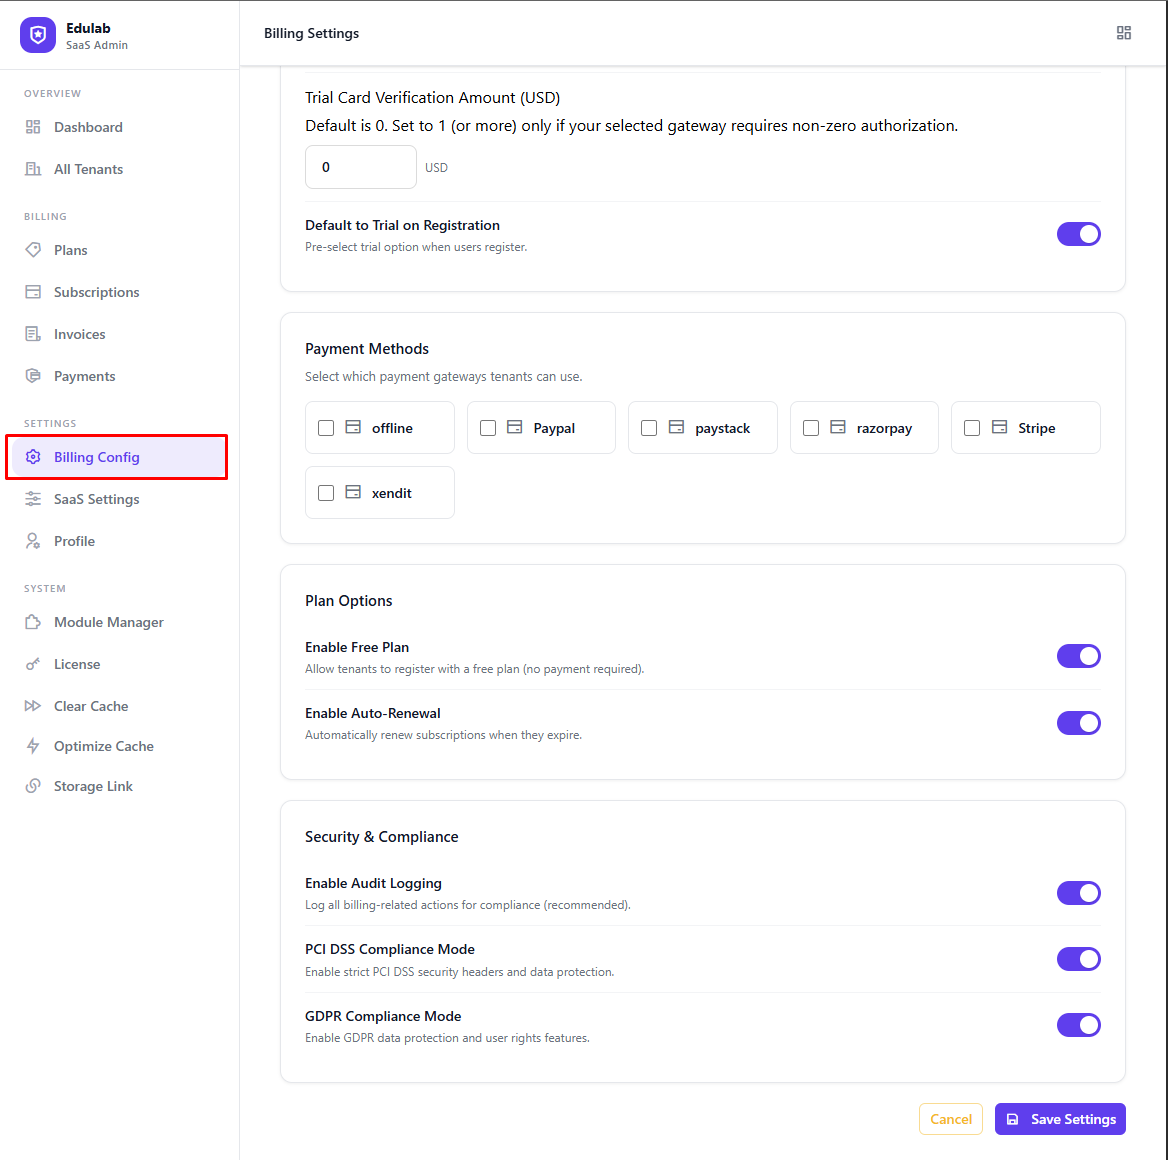
Step 03 — Enable a Payment Gateway
In Admin → Billing → Settings → Payment Methods, enable Stripe (or another gateway) and enter your API keys.
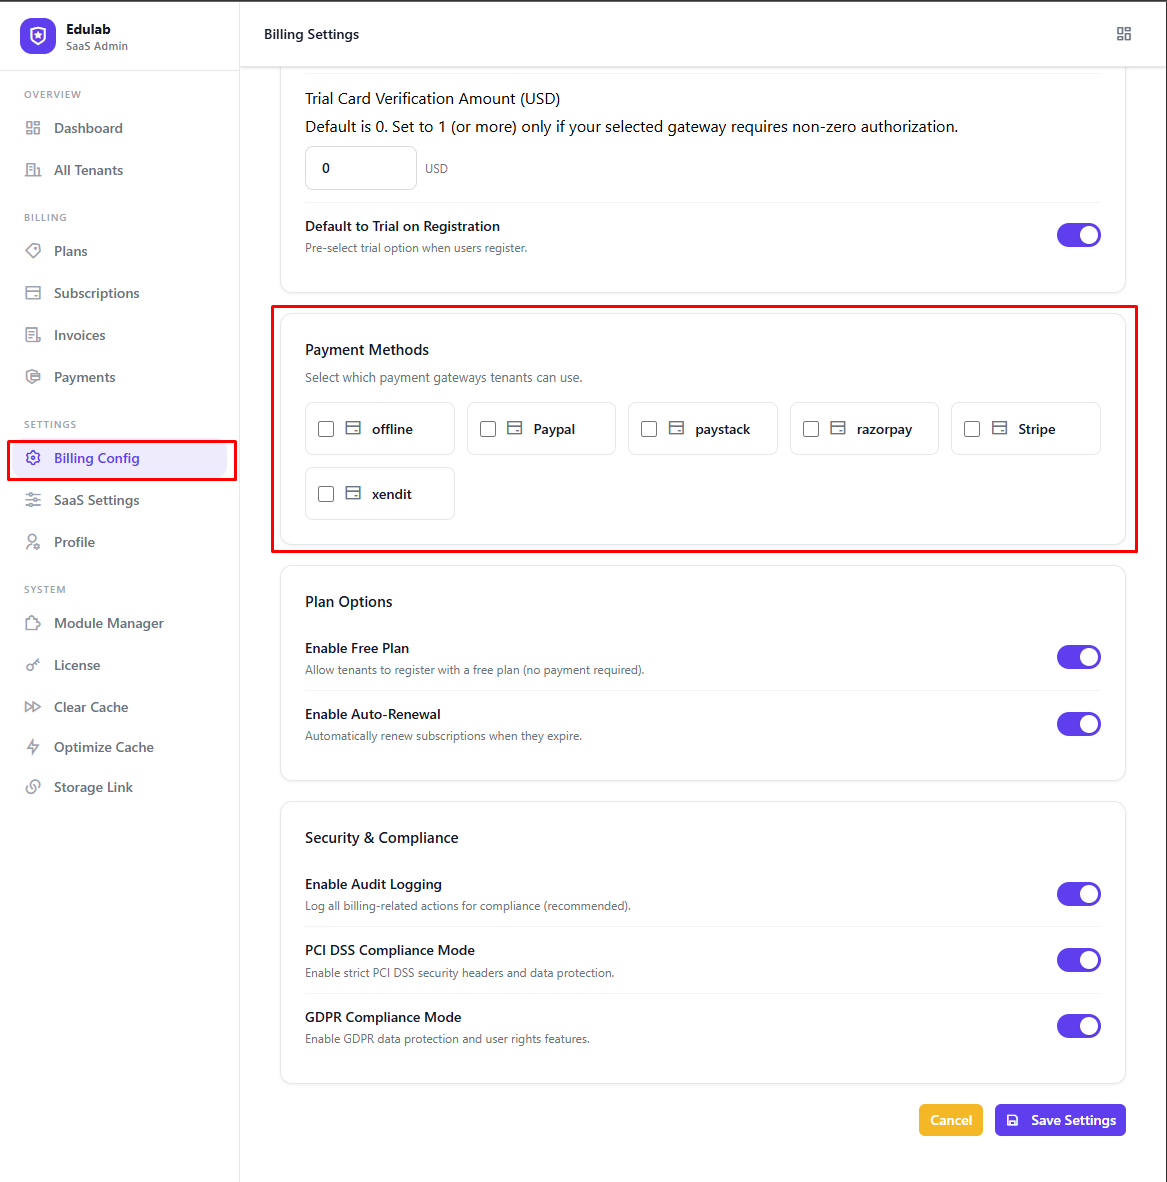
See Payment Gateways for gateway-specific setup guides.
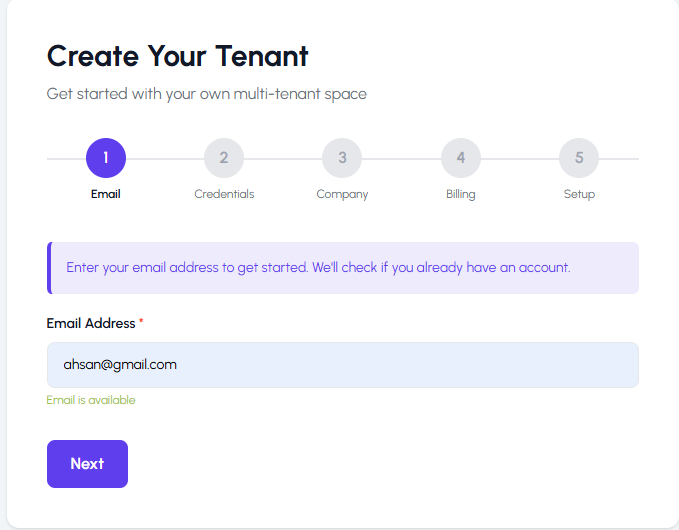
Step 04 — Test the Registration Flow
Visit https://yourdomain.com/tenant/register (or click Get Started on your pricing page).
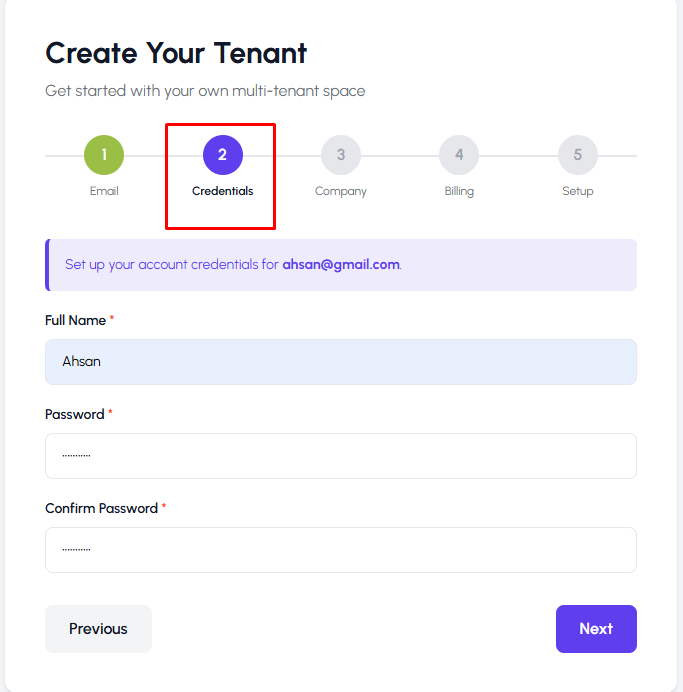
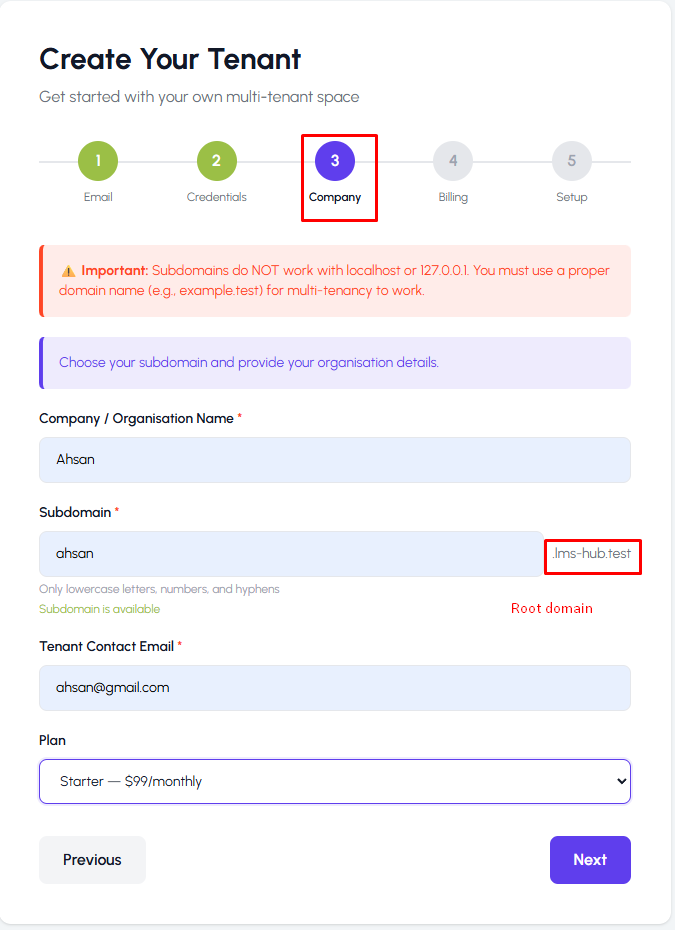
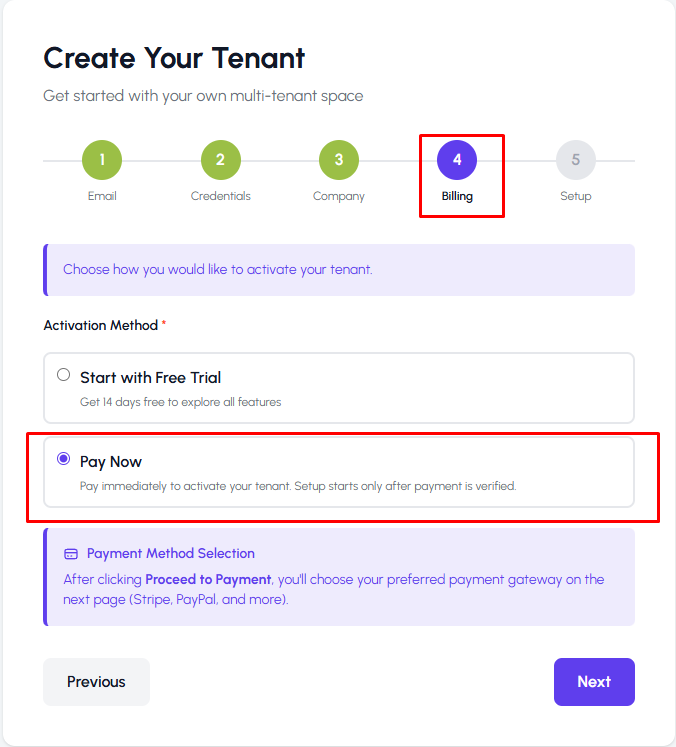
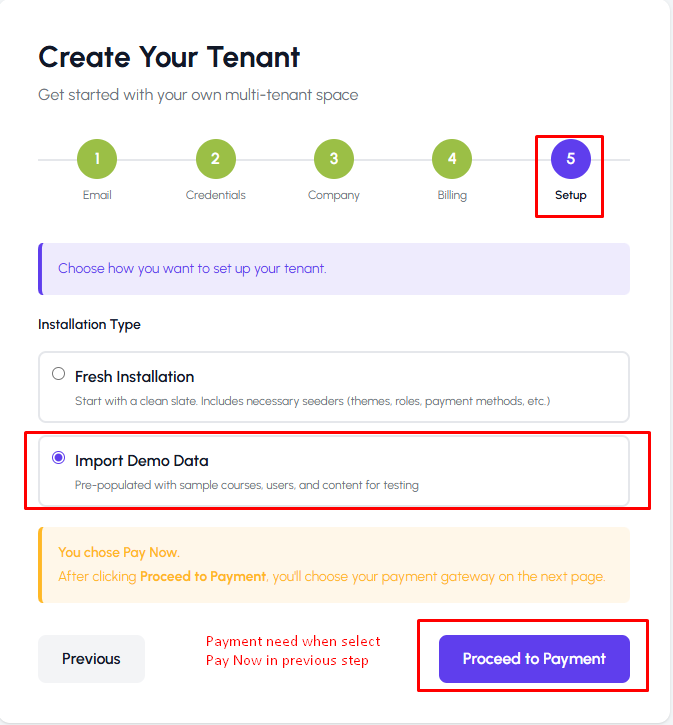
You should see the multi-step registration form:
- Plan Selection — choose a plan
- Account Details — email and password
- LMS Details — subdomain and school name
- Billing Choice — Trial / Pay Now / Free (based on your settings)
- Setup Type — Fresh or Demo import
Expected behavior by option:
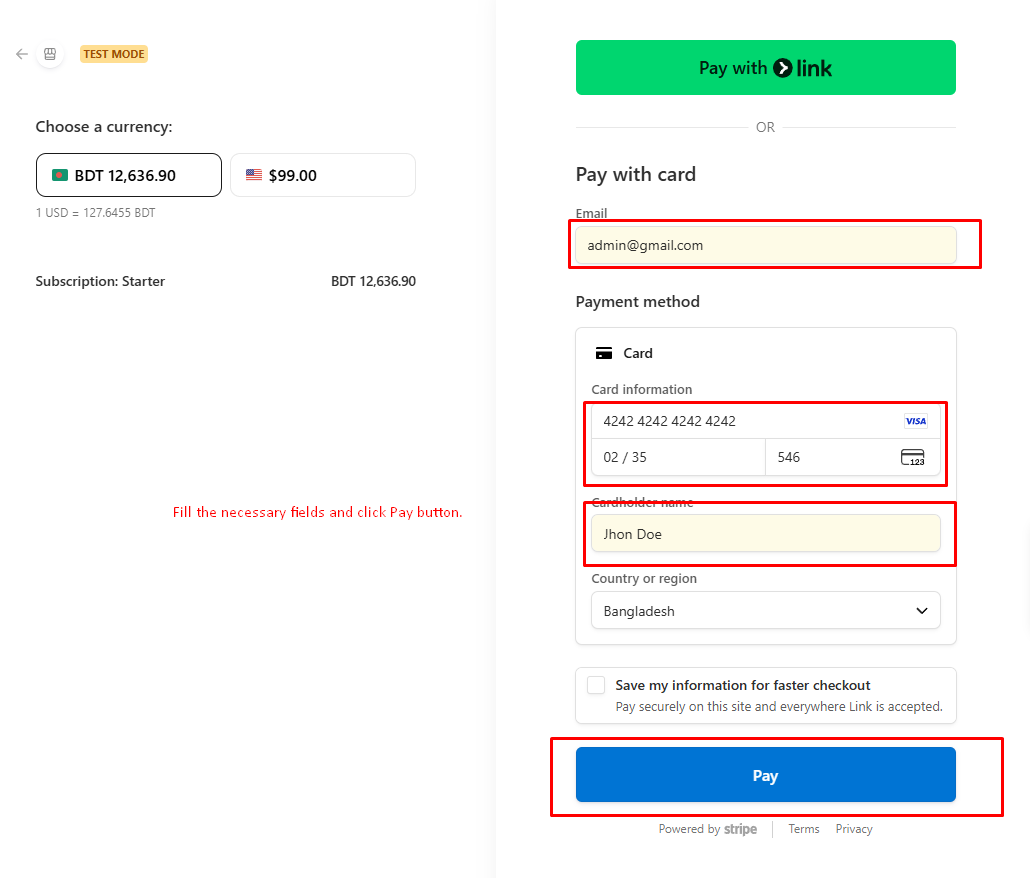
- Paid plan + Pay Now: user is redirected to gateway first; tenant is provisioned only after verified payment.
- Paid plan + Trial (no card required): tenant is provisioned immediately on trial.
- Paid plan + Trial (card required): card verification runs first, then tenant is provisioned on trial.
- Free plan: tenant is provisioned immediately.

After successful provisioning, the user is redirected to a success page with a link to the new tenant's LMS.
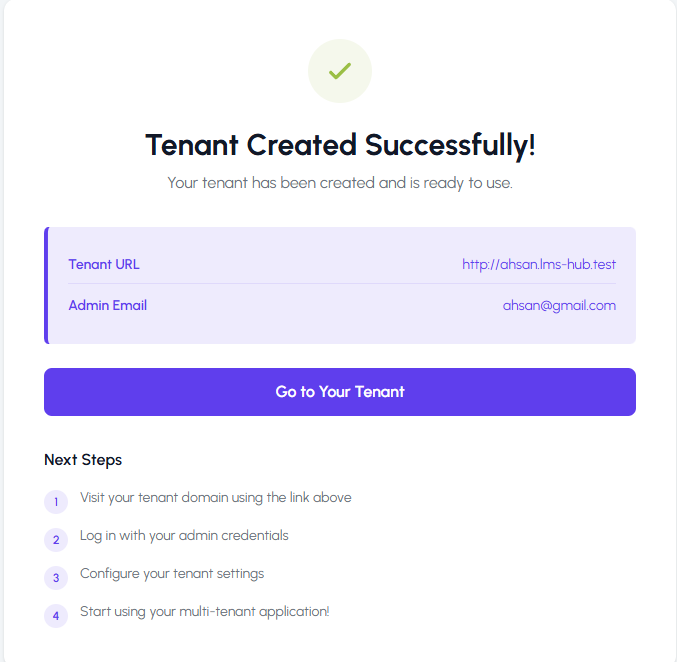
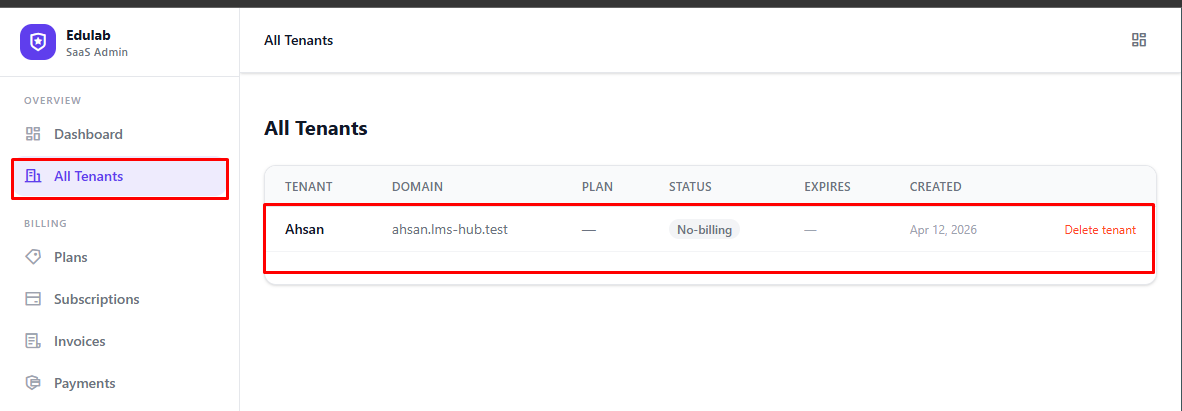
Step 05 — View the New Tenant
In Admin → Tenanta Admin → Tenants, you will see the newly created tenant listed with its subdomain and billing status.
Click on the tenant to view its details.
Step 06 — Log In as Tenant Owner
The tenant owner can now visit https://yourdomain.com/tenant/login to log in and manage their subscription.
From their dashboard, they can:
- View their current plan and usage
- Upgrade or downgrade their plan
- Download invoices
- Manage their LMS via the subdomain link
Billing routes:
/billingredirects to the first tenant billing page the user owns./billing/{tenantId}opens billing for a specific tenant.
What's Next?
- Plan Management — configure plans, limits, and features in detail
- Billing Management — manage subscriptions, suspend, renew
- Payment Gateways — configure Stripe, PayPal, and others
- Tenant Portal — understand what your customers see